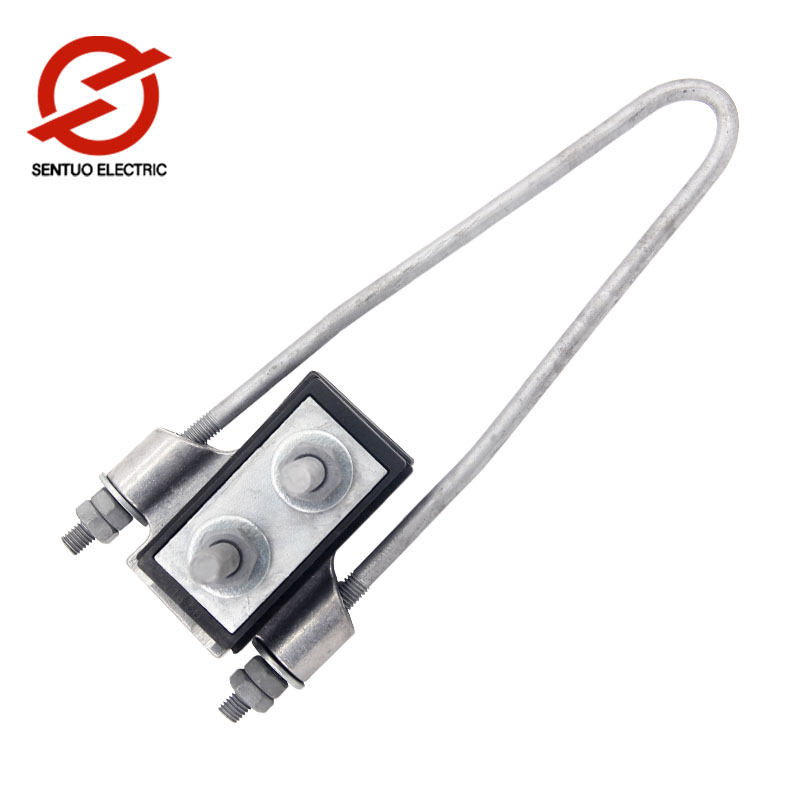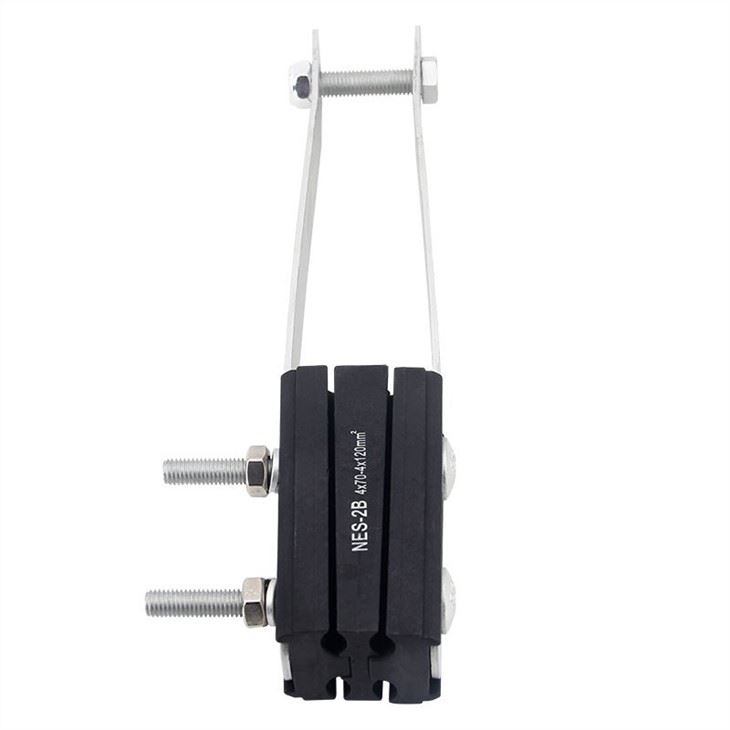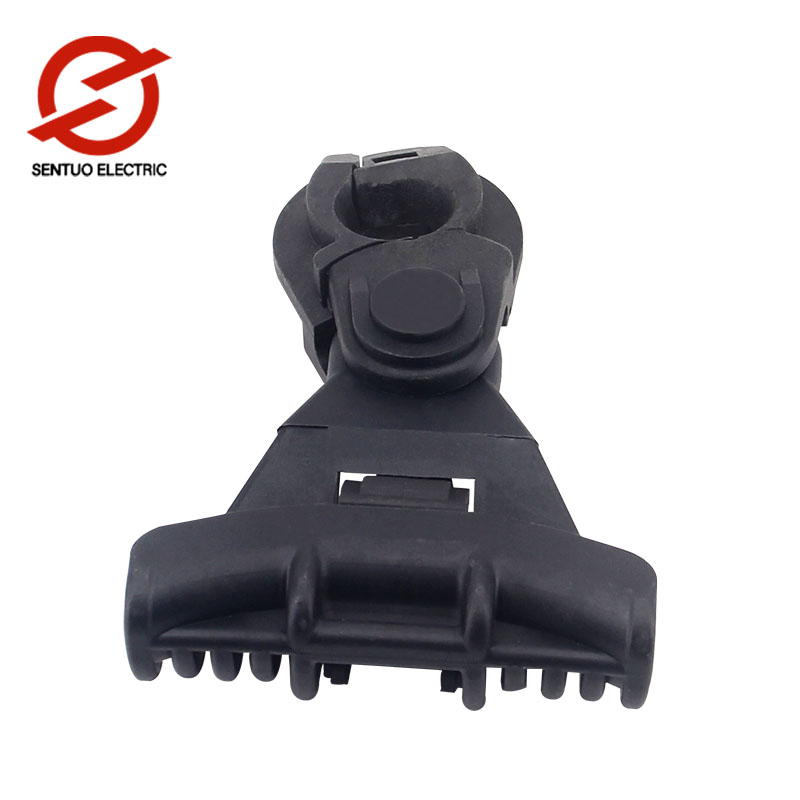

The insulating Piercing connector is mainly composed of an insulating shell, a puncture blade, a waterproof rubber pad and a torque bolt. When the cable branch is connected, insert the branch cable into the branch cap and determine the branch position of the main line. Then tighten the torque nut on the clamp with a socket wrench. As the torque nut is tightened, the Piercing connector has two insulators with a puncture blade hidden. Gradually close the dragon, at the same time, the arc-shaped sealing rubber pad wrapped around the puncture blade gradually adheres to the cable insulation layer, and the puncture blade also begins to puncture the cable insulation layer and the metal conductor. When the sealing gasket and the insulating grease are sealed to the best extent and the contact between the piercing blade and the metal body is achieved, the torque nut is automatically detached. At this time, the Piercing connector is installed and the contact point sealing and electrical effects are optimized.
4. The Piercing connector tightens the nut evenly with the corresponding sleeve wrench, until the top end breaks off and the installation is completed.